Bottle Instructions
Step-by-Step Instructions: Bottle
ScratchesHappen has re-engineered the DIY repair process using color matched primers and professional tools for application and paint leveling. Our process creates a superior, highly invisible repair.
I. Introduction
These step-by-step instructions guide you through prep, painting, and polishing. We identify the key details needed for a perfect job. Scan Sections II and III to give yourself an overview of the process and paint, then get started in Section IV to achieve your pro finish.
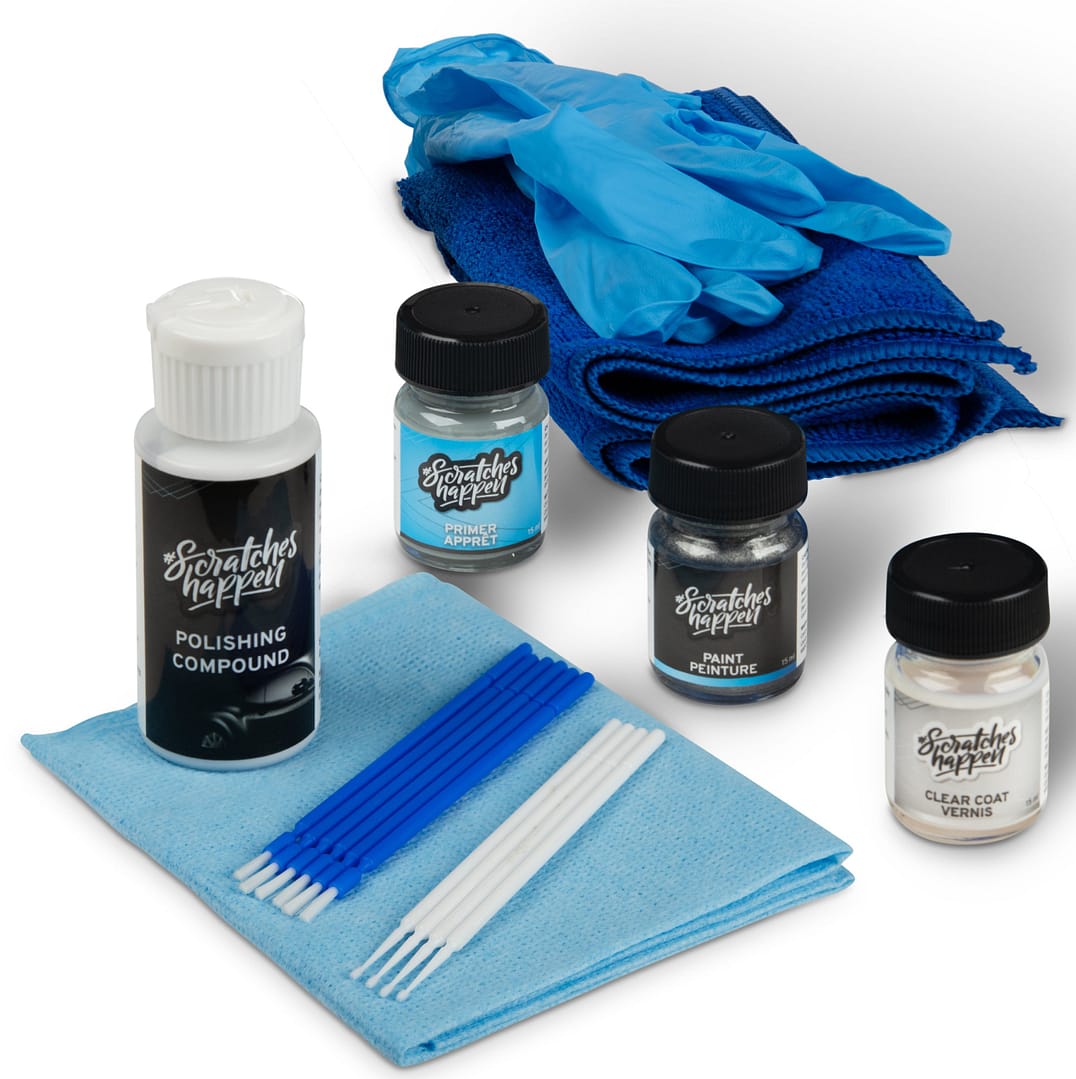
Which Kit Do You Have? Check which kit you purchased below to confirm what’s included in yours. These instructions identify the kit and materials required for each step. If you purchased the Essential or Preferred kit, you may need to provide certain materials to perform a step.
TIP: All our bottle paints are waterborne, and clear coat must always be applied over the color to seal and protect it, and to achieve the color match.
The Complete Kit
- Test card
- Base color(s)
- Tack cloth
- Precision applicator pack
- Polishing compound
- Color matched primer
- Clear coat
- Microfiber towel
- Nitrile gloves
The Preferred Kit
- Test card
- Base color(s)
- Precision applicator pack
- Color matched primer
- Clear coat
- Nitrile gloves
The Essential Kit
- Test card
- Base color(s)
- Precision applicator pack
- Clear coat
- Nitrile gloves
What Tools Will You Need?
- Footstool [optional – to sit, e.g., near the repair and have a steady hand]
- Good overhead lighting if working in the garage
- Flashlight or handheld LED light source
- Watch or timer
- Paper towels and soap and water for cleaning brushes
- Optional: small portable fan or hair dryer with a cool setting
Did You Know?
You can ask Alexa or Siri what the humidity
or temperature is in your location.
“Hey Siri, what is the
current humidity?”
II. DIY Overview
First, what is paint? More than just pigment, paint is an emulsion of solids and liquid that performs according to the chemical principles of its ingredients. Today, automobile paint finishes are chemically complex, multi-component, multi-layered finishes. The final finish is the art and science of all layers working together.
How bad is the damage? First, to determine which process is appropriate for your repair, use a good portable LED light (your phone flashlight is fine) to look closely at the damage. If you see bare metal or plastic, you need primer. If your scratch is deep, down to the primer but not through the primer, you still may want to use primer because it will do a good job filling the depth you need.
Creating invisible repairs. Aside from color match, the “invisible-ness” of your repair requires creating a level final surface so that reflected light does not get distorted by a chip or scratch that is lower or higher than the surrounding paint. The reflected vs. refracted light in Figure 1 below illustrates why you have to fill. You will need to either use primer as your first coat to fill in a deep blemish (or in very deep cases, filler), or use multiple coats of base color to fill in. You want to achieve a final clear coat application that is level with the surrounding paint.
Three different depth scratches (A, B, C) are shown in Figure 1 below.
Figure 1: Types of Scratches
A, B, or C?. Given your assessment of the depth of the damage (A, B, or C), apply your paint, including primer, base color and clear coat as appropriate, to the test card to understand how many coats are needed to achieve the finish you want.
What is the test card for? The test card is for you to practice with your paint. Getting a feel for the opacity and film thickness will greatly improve your handling of the paint. The pros do this. Learn how the paint acts, how much paint to use on each type of applicator, and how each coating looks. This is part of the art of the repair. The color you purchased should match your car’s paint color.
Test the clear coat for dripping/running. Determine if your surface is horizontal, vertical, or sloping. Steeper angles can promote dripping or running in the clear coat. Practice the clear coat on the test card — you can tape the test card to the car (with painters tape) near the repair area to determine if the clear coat will sag or run. If it does, practice again with a thinner coat so the clear coat does not run.
TIP: You might need to unload the brush of some extra clear coat by brushing a bit off on the lip of the bottle. The ideal clear coat application is to have just enough clear coat on the brush so you can paint with one stroke, without leaving a wet bead of clear at the edge of the brush. If you have to brush the clear coat out to smooth out beads at the edge of your stroke, you run the risk of leaving brush marks, and also dissolving some of the waterborne base color.
What part of the card should I paint on? The test card has a grey region that approximates the tint of primer, this is where you should apply your test color and clear coat. When it is dry, you can hold it next to your car and have a seamless edge between the test color and your car color.
Paint your test large enough so you can see a large enough swatch to compare to your car.
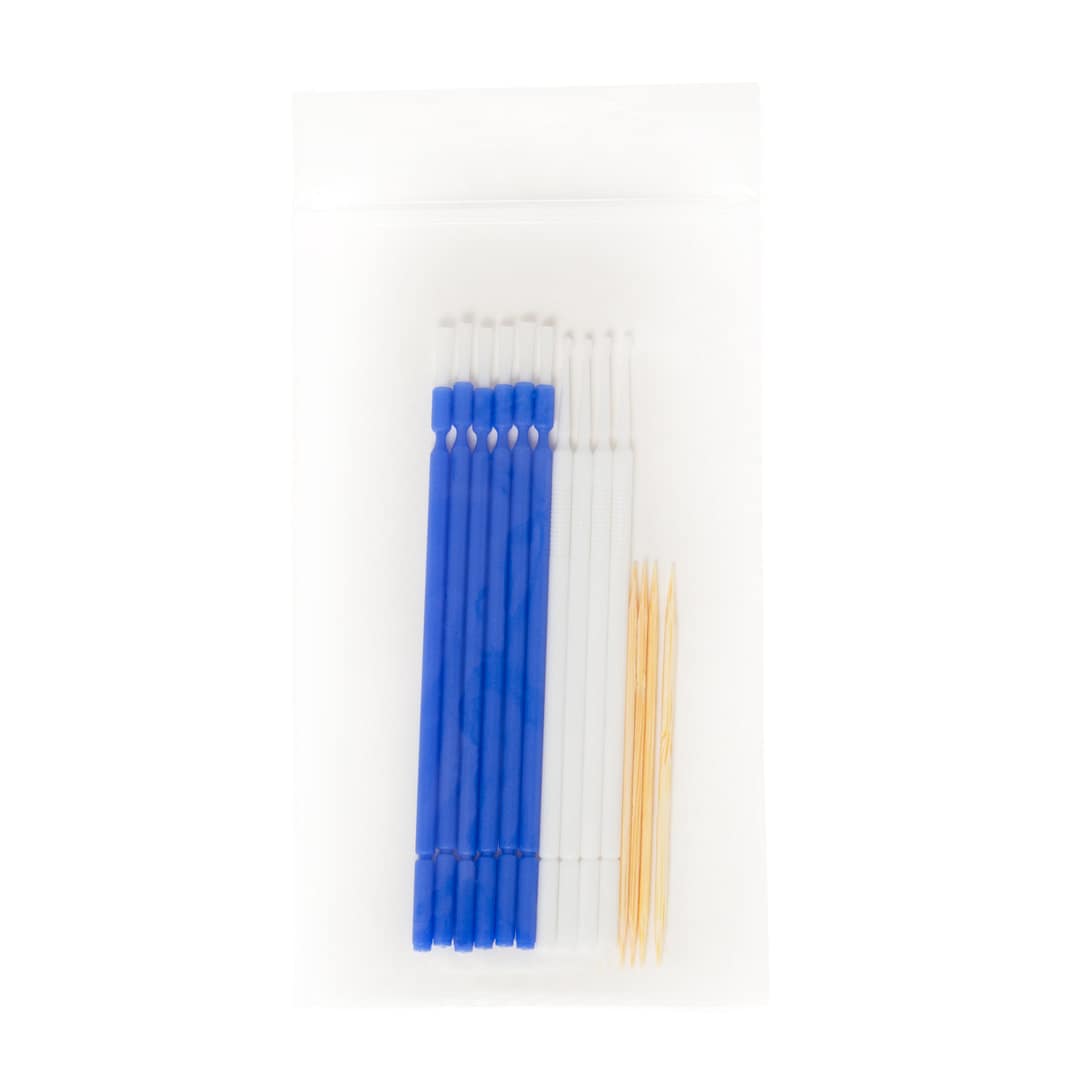
Which applicator do I use? In our testing, the toothpick and the micro-dabbers are best used for small chips, not scratches or large chips. A small chip is generally just a millimeter or two in diameter, about the size of the head of the micro-dabbers that we’ve provided. The micro-dabber is great for placing a drop of paint onto the chip. For scratches and larger chips, you will need to apply paint to a larger area, and this involves dragging the applicator across the blemish. The small brushes we’ve provided are perfect for this. A gentle touch with a brush will leave a smoother finish. The dabbers are NOT good for scratches because they don’t hold enough paint, and they drag the little paint that they hold and create an uneven surface. The brushes are better suited to smoothing the paint out over the length of a scratch or large chip.
Holding the applicators. People have various ways of holding a brush or applicator. Do what feels most comfortable and steady for you. Most people will hold the brush/applicator like a razor. The advantage is your hand does not cast a shadow over your work area.
Loading the brush or dabber with paint. Too much paint on the applicator tip will diminish your control over how much paint you lay down. Try to have enough paint that the applicator tip/bristles appear saturated but not so much paint that a ball of paint is ready to drop off. You might need to unload your applicator to remove some paint, using the lip of the bottle to remove some paint. Choose the applicator that appears most suited to the job; toothpick, dabber, or brush.
Handling Paint Jars and Applicators
- Shake primer and paint bottles well before each use.
- Do not shake the clear coat, instead stir it lightly with the brush before use.
- Unscrew the cap.
- Remove excess paint from the applicator by gently stroking the applicator tip on the jar’s inside lip.
- When touching up your car’s paint, put down a bit of cardboard or a double layer of paper towels to lay out your applicators/brushes near your work area.
III. Understanding Paint
View all knowledgebase articles on how to apply paint here: https://help.scratcheshappen.com/help/how-to
Drying temperature. The optimal drying temperature is 65 to 75 degrees Fahrenheit. Your drying times will be affected by temperatures above or below this range. Low temperature will slow drying times.
Humidity. High humidity will slow drying times, and may cause fisheye if there is too much moisture in the air. Wait for lower humidity.
Note: “fisheye” looks like a water drop in the paint.
Sunlight/rain. Avoid working in direct sunlight or working on surfaces that have been sitting in direct sunlight. Likewise, avoid working on rainy days.
Layering paint. Each new layer of paint acts like a solvent on the previous layer, and the new wet paint can slightly deform or even reduce the thickness of the layer you’ve already applied. This just means you want to work gently.
Adhesion between primer + base color + clearcoat. Each of these types of coatings has a nice porous paint surface when freshly dried, but the porousness disappears as the surface hardens. The porousness helps the next coating adhere properly via chemical bonds. So, when you transition from primer to base color or from base color to clear coat, if you wait more than 24 hours, the dried coating will not accept the wet coating correctly. If more than 24 hours does pass, simply apply another light layer of the previous coating, letting it dry less than 24 hours before transitioning to the new coating.
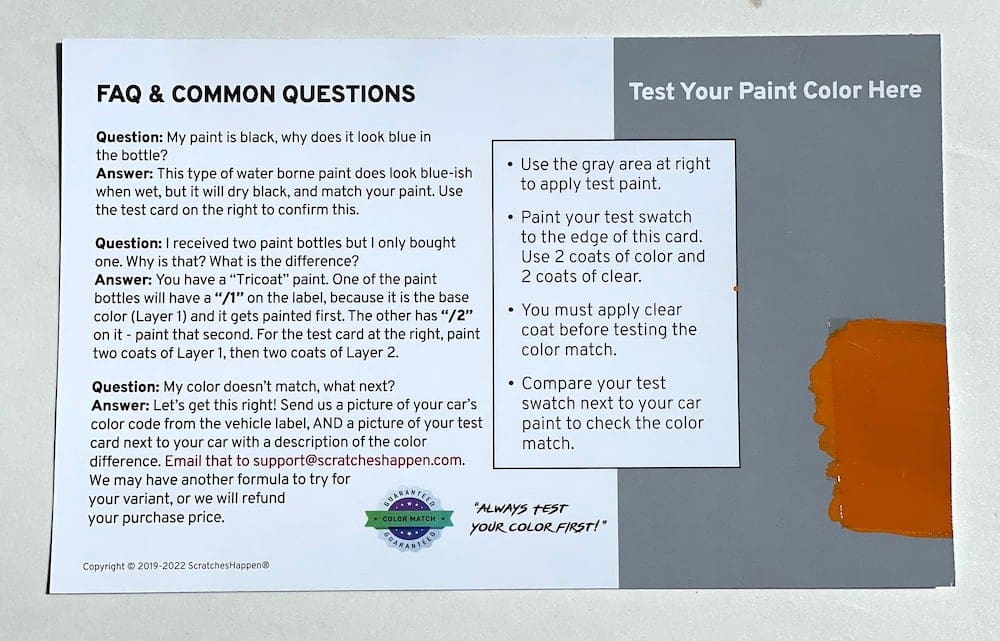
Exact color match. As you are adding coats of paint, the color will not appear to be a color match until it has dried. Waterborne paint can have a slight blue cast to it when wet, which disappears as the solvents evaporate (in about 5 minutes). Then, an exact color match won’t happen until the clear coat is applied and it is completely dry.
Tri-coat colors. Some colors require an additional color during application to achieve the exact color match. This includes many pearl whites and some red colors. For these colors, you will receive two different colors in your kit (identified as a tri-coat color kit): the base color and a mid-coat color.
Precision Applicators
IV. Easy 5-Step Repair Process
Step 1: Preparation
Good preparation of the surface is essential for a successful paint finish.
- If the scratch or chip has rough, ragged edges when you run your finger over it, use the polishing compound to removed the rough edges. Polishing compound on the microfiber towel, with finger pressure, can remove rough edges and any loose flakes of paint, either of which will create an uneven finish. Alternatively a sanding stick or sanding block can remove rough edges.
- Clean (degrease) the area to be repaired with soap and water. We recommend some Dawn dishwashing detergent (or similar). Wash the paint around your scratch with warm soapy water, rinse and pat dry with a soft towel.
- Because scratches are below the surface of the finish, moisture can hide in the scratch. You need to dry the area to be painted thoroughly so if you’re working in an area that is hard to dry, (high humidity, deep scratch) use a hairdryer held 18-24 inches from the paint’s surface to ensure dryness.
- Next use a tack cloth (included in the Complete kit) or the sticky side of tape to remove small bits of particulate matter that were not removed by cleaning in Step 2. Use your finger to apply pressure through the tack cloth to loosen anything trapped in the blemish.
Required for This Step
Complete kit: You will need to have a tack cloth (or sticky tape), polish compound (or sandpaper) and a polish cloth to do this step.
Step 2: Primer
Primer may be needed; it depends on the depth of the scratch, and whether the original factory primer was scratched through. Note that the color match relies on the primer tint. Your ScratchesHappen kit includes a tint that is appropriate for your color formula. This is part of the science of the repair. If your scratch is very shallow, and does not go through the primer, then you can skip this step.
- Shake the primer bottle or stir it to mix any settled solids for a smooth consistency (no lumps).
- Apply your primer over the entire area you are planning to paint, making sure any exposed substrate (the metal or plastic under the paint) is lightly coated.
- Let the first layer dry 10-15 minutes. Then, apply 1 or 2 more light coats of primer (depending on your level of damage, either B or C from Figure 1). In total, 2-3 coats should cover the area properly.
- Allow 10-15 minutes drying time between coats.
- Let the last coat of primer dry at least 30 min. You may use a hairdryer on cool setting or a fan to speed up the drying time. Don’t blow directly on the paint; instead blow the air across the paint at an oblique angle. You want to move the air over the paint, not deform it with too much direct air flow.
- Remember. You must apply the first layer of base color (Step 3) at least 30 min after but not more that 24 hours after applying the last primer coat.
Required for This Step
Complete or Preferred kit: You will need to have primer to do this step.
Step 3: Base Color
- Shake the paint bottle or stir it to mix any settled solids for a smooth consistency (no lumps).
- Apply the base color in an even, light coat, using the appropriate applicator. Don’t apply heavy coats.
- Allow minimum 15 minutes between coats for paint to dry.
- Plan on 3-4 light coats depending on the level of damage (B or C from Figure 1). Be careful not to apply too much paint to the surface and avoid painting on the existing finish (overpaint). Several light coats are important, do NOT paint thick coats or it will take a long time to cure, especially in higher humidity.
- You will know that the paint is dry when it reaches a matte finish (the glossiness disappears).
- You can use a small fan or hair dryer to speed drying. Be sure to set the hair dryer on the cool setting. Hold the fan 18-24” inches from the area, off to the side, so the air is blowing across the painted area. Don’t place it too close to the paint because the force of the air could create an uneven surface.
- Remember. You must apply the first layer of clear coat (Step 5) at least 30 min after but not more that 24 hours after applying the last base color coat.
Tri-coat colors. For these colors, you received two different paint jars in your kit (identified as a tri-coat color kit). The label on each jar (see the example below) will indicate which color to use first.
Example Paint Labels for Tri Coat Paints
- Apply 3-4 light base coats first, waiting 15 minutes between coats. Wait a couple hours to dry completely before removing any excess (overpainted) base coat paint.
- Apply 2-3 mid coats waiting 15 minutes between mid coats. Note: Wait a couple hours to dry completely before Step 4, removing any excess (overpainted) mid coat paint.
- From this point on, the process is the same as for regular base colors.
Step 4: Remove Overpaint
Before you clear the paint, you may want to remove any additional touchup paint that exceeded the boundary of the scratch. If a little paint flowed beyond the chip or scratch, now is the time to remove it using a dabber with some water or polishing compound.
- Try a little water first on the microfiber towel to remove the extra paint around the blemish. Wrap the damp part of the towel around a wooden block if you need a corner for precision. Be careful not to wash the base color away. If necessary, use polish compound instead of water.
- If you have a very small repair, try using a Q-tip or one of the supplied dabbers with some water or polish applied. Carefully rub the excess paint to remove it from around the repair. TIP: Use a Q-tip, supplied dabber, or wrap the polish cloth around a wooden block to get a corner edge that allows you to apply more precise pressure at the edge of the repair, so you don’t remove the paint from inside the chip, just the edge.
- Carefully use an alcohol wipe with a Q tip, or the corner of a paper towel to dab the area that you polished. This is to remove any polish residue before clear coat is applied. Do not get the alcohol on the base color or it may remove it.
Required for This Step
Complete kit: You will need to have polish compound (or water) and a polish cloth (or Q-tip) to do this step.
Step 5: Clear Coat
Don’t wash, polish or sand the last coat of base color paint before applying clear coat. The base color is waterborne paint and doing that will remove it. Wait at least 30 minutes after the base color has dried to apply the clear coat. Apply clear coat when temps are over 60 degrees F and humidity is less than 50 % or dry times will be longer.
Note: clear coat is tricky to apply well. Practice on the test card!
- Stir the clear coat, do not shake it.
- Clear coat should be applied thin, so it dries thin. If you apply too much, when it flows to level, a too heavy coat will sag and create a thick edge on the low side. Simulate the angle of your body panel with the test card.
- Don’t attempt to brush out the clear coat multiple times because that will leave more brush marks. It’s better to apply too little than too much.TIP: You might need to unload the brush of some extra clear coat by brushing a bit off on the lip of the bottle. The ideal clear coat application is to have just enough clear coat on the brush so you can paint with one stroke, without leaving a wet bead of clear at the edge of the brush. If you have to brush the clear coat out to smooth out beads at the edge of your stroke, you run the risk of leaving brush marks, and also dissolving some of the waterborne base color.
- Apply an even coat of clear, let it dry for 15 minutes.
- You can use a small fan or hair dryer to speed drying.
- Visually inspect the first layer with a bright light to see that your coverage is even and thorough. It should appear clear and glossy and smooth as it dries. Done properly, it should be hard to see the clear coat.
- Apply a second and optionally a third coat of clear coat the same way.
- For all layers of clear coat, allow 15 or more minutes of drying time in between layers, but not more than 24 hours of drying time between clear coat layers.
You are done!
Required for This Step
Any kit: You will need to have clear coat to do this step.
Contact Us
If you have any questions or feedback for us, please don’t hesitate to reach out to us here:
In the USA, email: [email protected]
In Canada, email: [email protected]
Summary of Dry Times
All times below assume application temperature is above 60 degrees and humidity is below 50%
- Between primer coats: 15-30 minutes
- After primer, before painting: 30 minutes – 24 hours
- Between base color coats 15-30 minutes
- After base color, before clear coat 30 minutes – 24 hours
- Between clear coats 15-30 minutes
- After clear coat, before hand wash 72 hours
- After clear coat, before machine wash 30 days
- After clear coat, before waxing/polishing 30 days
- After clear coat, before ceramic coat/film wrap 60 days
Cleaning Up Afterward
- Before screwing on the lid, wipe off the inside of the lid and jar to facilitate reopening the jar for the next repair job.
- Be sure to tighten the lid. Store all paint bottles and applicators in a cool, dry place that won’t freeze, out of the reach of children.
- For brushes: wash the applicators in warm soapy water with Dawn (or similar) detergent, rinse and let dry laid flat on dry paper towels.
- Wash hands in warm soapy water.
- Dispose of paper towels and rags in regular garbage.


